Muhammad Manamil on November 10, 2025


We want to help you start your new Laravel application easily. That’s why we offer starter kits. These kits give you a ready-made structure with routes, controllers, and views. They help you set up user registration and login quickly. The starter kits use Laravel Fortify for authentication.
You don’t have to use the starter kits if you don’t want to. You can also create your application from scratch by installing a fresh copy of Laravel. Either way, we are sure you will make something amazing!
| Kit | Front-end Stack | Best For | Notes |
|---|---|---|---|
| React | React (with TypeScript), Inertia, Tailwind | If you know React, want a fast Single Page App (SPA) feel, and like JavaScript tools | Uses Inertia to connect Laravel with React. |
| Vue | Vue 3 (Composition API), TypeScript, Inertia, Tailwind | If you prefer Vue and want a SPA experience | Also uses Inertia for Laravel integration. |
| Livewire | Livewire 3, Blade templates, Tailwind, Flux UI | If you want to stay mostly in PHP/Blade with minimal JavaScript | Works like traditional Laravel but gives a reactive UI. |
Tip: If you are not very experienced with front-end frameworks and want a fast backend-driven UI, Livewire might be a better choice. If you want the full JavaScript ecosystem, go with React or Vue.
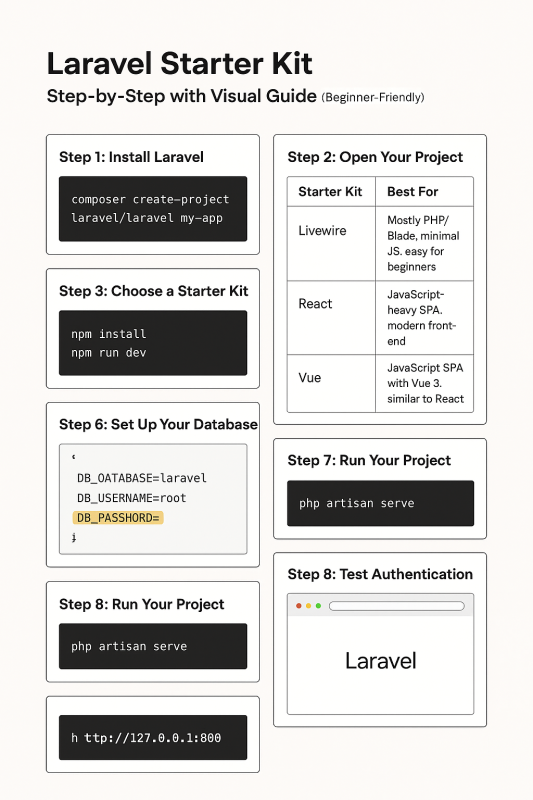
Step 1: Install a Fresh Laravel Project
First, you need a new Laravel application. Open your terminal and run:
composer create-project laravel/laravel my-appReplace my-app with your project name. This will create a new Laravel application with all the basic files.
cd my-appThis moves you into your project directory so you can start installing the starter kit.
Decide which starter kit you want to use:
Use Composer to install your chosen kit. For example:
composer require laravel/jetstream
php artisan jetstream:install livewirecomposer require laravel/jetstream
php artisan jetstream:install inertia --teamscomposer require laravel/jetstream
php artisan jetstream:install inertiaNote: The --teams option is only needed if you want team features.
After installing the kit, install front-end dependencies using NPM (Node Package Manager):
npm installThen compile the assets:
npm run devThis will compile your CSS and JavaScript files so the front-end works properly.
Open the .env file in your project folder. Set these values according to your database:
DB_DATABASE=your_database_name
DB_USERNAME=your_db_username
DB_PASSWORD=your_db_password
Then run migrations:
php artisan migrateThis creates all the tables your app needs (users, teams, etc.).
Run this command to start your Laravel app:
php artisan serveOpen your browser and go to:
http://127.0.0.1:8000You should see your new Laravel app with the starter kit installed.
Congratulations! You now have a fully working Laravel app with a starter kit. From here, you can start building your features.
Featured Posts
Categories
November 03 2025
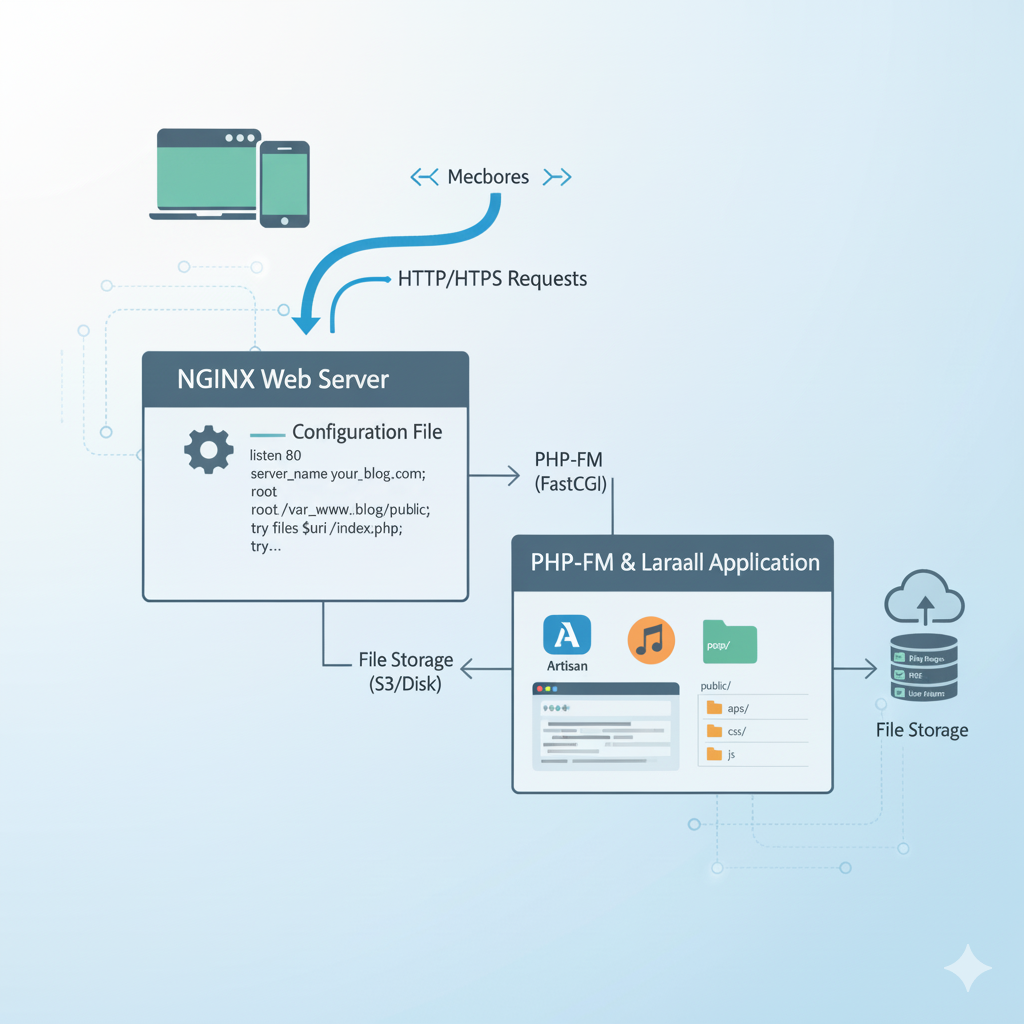
Laravel Installation on Ubuntu with Nginx – Complete Configuration GuideLaravel is the ultimate free and open-source PHP framework designed for building fast, secure, and reliable web applications. It has quickly become the industry standard thanks to its powerful, cohesive toolset that guarantees a streamlined development process for any modern PHP project.
December 01 2025
How to Check Your Domain's IP Address | Easy Step-by-Step GuideLearn how to quickly check the IP address of your domain using methods for Ubuntu, Mac, and online DNS tools. Whether you're troubleshooting, securing your website, or configuring DNS settings, this guide provides simple, actionable steps to find your domain's IP with ease.
April 04 2026
How to Use Laravel 13 AI SDK for Native AI Development Complete GuideLaravel 13 introduces a powerful native AI SDK that transforms how PHP developers build intelligent applications. From AI agents and semantic vector search with pgvector, to passkey authentication and intelligent queue routing — this complete guide covers every major Laravel 13 feature with real code examples to help you ship AI-powered apps faster than ever.

Where ideas meet innovation. Exploring tech, design, and creativity in every line of code.
© 2026 — Revision. All Rights Reserved.