Muhammad Manamil on November 04, 2025



When it comes to building powerful and scalable web applications using Laravel, the first step is setting up Composer — a PHP dependency manager that installs and manages all the libraries Laravel needs.
Without Composer, you cannot install Laravel or manage its ecosystem efficiently. That’s why understanding how to install and configure Composer properly is essential for every PHP developer.
In this complete guide, you will learn how to install Composer on both Windows and Ubuntu, step by step, so you can start your Laravel projects smoothly.
Composer is a dependency management tool for PHP. It allows you to declare the libraries your project requires and then manages (installs and updates) them automatically.
For Laravel, Composer handles:
Managing packages and plugins
Keeping your PHP environment consistent
Think of Composer as the “npm for PHP” — it makes managing PHP projects simple and efficient.
Composer is used in almost every modern PHP framework, including:
Symfony
Laravel
CodeIgniter 4
CakePHP
Yii2
Slim Framework
FuelPHP
OctoberCMS, Drupal, Magento, WordPress
To install Composer, make sure your system meets these requirements:
PHP version: 8.3 or above (older versions may also work)
Local server: Latest version of XAMPP or WAMP (for Windows users)
Follow these steps to install Composer on Windows for Laravel development.
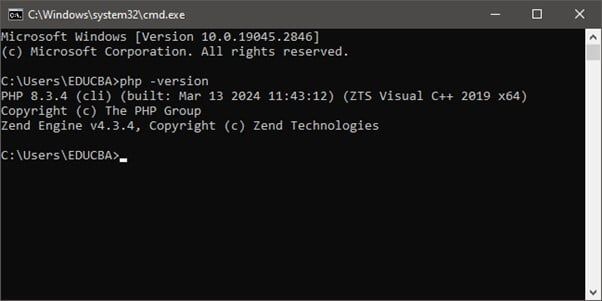
Composer requires PHP to run. Open your Command Prompt and type:
php -vIf PHP is installed, you will see a version number similar to this:
Go to the official Composer website:
https://getcomposer.org/download/
Click on “Composer-Setup.exe” (Windows Installer) to download.
Run the downloaded .exe file
The installer will automatically detect your PHP installation and configure everything
Proceed with the default installation settings
Once installation is complete, click Finish
Open Command Prompt again and type:
composerIf you see the Composer version and usage details, installation was successful.
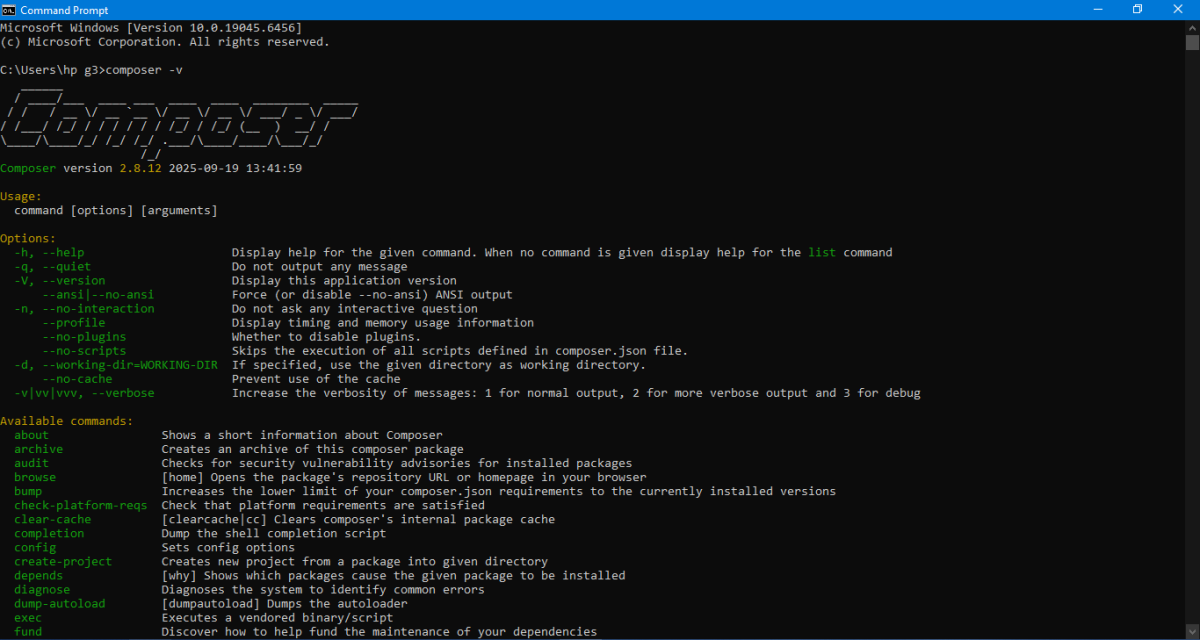
Test your installation by typing:
composer -vYou should see output like:
picture
Follow these steps to install Composer on Ubuntu.
(If you want to install laravel on ubuntu.)
First, update your system packages:
sudo apt update
sudo apt upgrade -yComposer requires PHP and some extensions. Install them using:
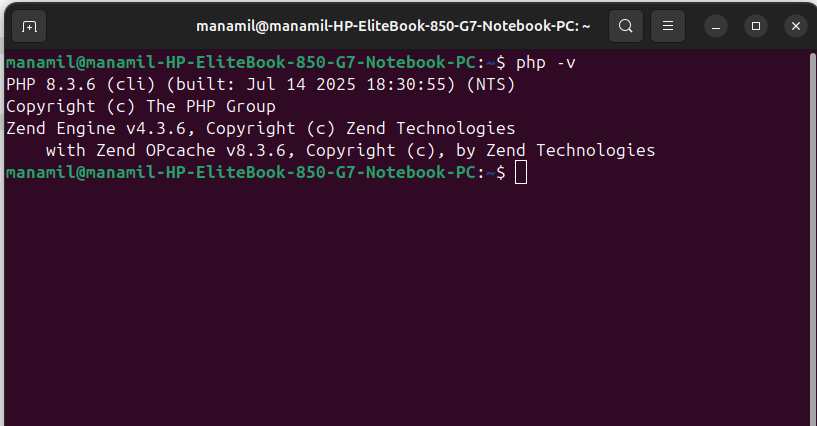
sudo apt install php php-cli unzip curl -yVerify PHP installation:
php -vIf you see the php version and usage details, installation was successful.
Run the following commands:
cd ~
curl -sS https://getcomposer.org/installer -o composer-setup.php
HASH_EXPECTED="$(curl -sS https://composer.github.io/installer.sig)"
php -r "if (hash_file('sha384', 'composer-setup.php') === trim('$HASH_EXPECTED')) { echo 'Installer verified'; } else { echo 'Installer corrupt'; unlink('composer-setup.php'); } echo PHP_EOL;"
If you see Installer verified, you can continue.
If you see Installer corrupt, delete the file and re-download.
sudo php composer-setup.php --install-dir=/usr/local/bin --filename=composerRemove the installer (temporary file):
rm composer-setup.phpWhy remove it?
The composer-setup.php file is only a temporary installer script. Once Composer is installed, it is no longer needed.
Check Composer version to confirm installation:
composer -VYou should see something like:
______
/ ____/___ ____ ___ ____ ____ ________ _____
/ / / __ \/ __ `__ \/ __ \/ __ \/ ___/ _ \/ ___/
/ /___/ /_/ / / / / / / /_/ / /_/ (__ ) __/ /
\____/\____/_/ /_/ /_/ .___/\____/____/\___/_/
/_/
Composer version 2.8.11 2025-08-21 11:29:39
Featured Posts
Categories
November 06 2025
How to Install Free SSL on Ubuntu Server Using Certbot (Step-by-Step 2026 Guide)Learn how to install a free SSL certificate on your Ubuntu server using Certbot and Let’s Encrypt. This step-by-step 2026 guide will help you secure your website with HTTPS, boost trust, and improve SEO — all without paying a single rupee
November 26 2025
DNS Checker Guide: Tools, Online Services, and Email CheckDiscover the best DNS checker tools and online services for Google DNS, global DNS, website DNS, email DNS, and more. Learn how to check IPs, reverse lookup, blacklists, and email headers with ease
November 05 2025
Laravel Cloud vs Vapor — Which One Should You Choose in 2026?Trying to choose between Laravel Cloud and Laravel Vapor? This guide explores their main differences — from pricing and performance to deployment style and scalability — so you can confidently pick the right hosting solution for your Laravel app in 2026


Built by a developer, for developers — free tools and real-world guides to help you code smarter, faster, and without the guesswork.
© 2026 — manamil.dev. All Rights Reserved.