Muhammad Manamil on November 03, 2025


Laravel is the ultimate free and open-source PHP framework designed for building fast, secure, and reliable web applications. It has quickly become the industry standard thanks to its powerful, cohesive toolset that guarantees a streamlined development process for any modern PHP project.
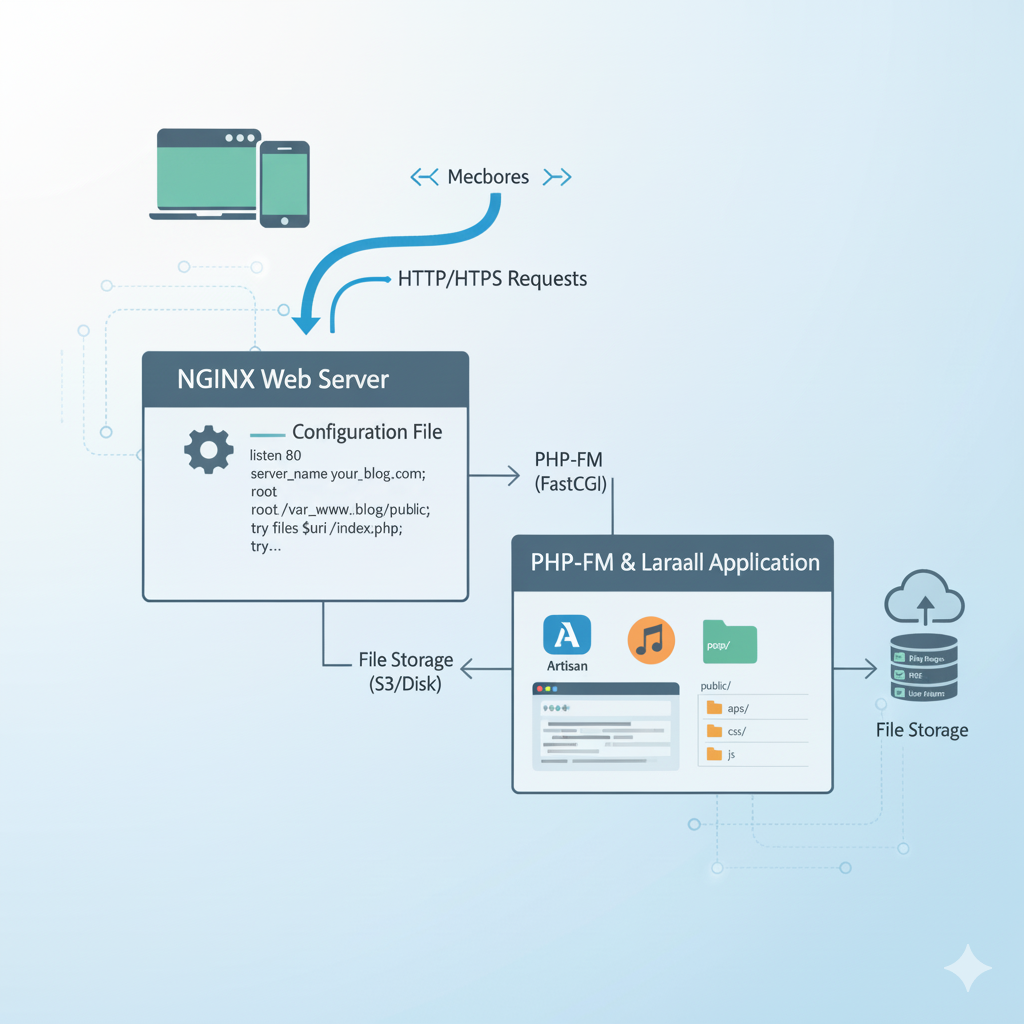
In this guide, we’ll learn in detail how to install Laravel on any version of Ubuntu and configure it with Nginx for the best performance. Whether you’re a beginner or an experienced developer, this tutorial is perfect for learning the complete Laravel setup.
Before deploying your application, the Laravel Nginx configuration must be properly installed and set up. As one of the fastest and most reliable web servers for PHP applications, correctly configuring Nginx is a critical step for maximizing your Laravel site's performance and security.
First, make sure your system is up-to-date by running:
sudo apt update && sudo apt upgrade -y
This ensures that all existing packages are updated before installing new ones.
Now install Nginx using the following command:
sudo apt install nginx -y
After installation, enable Nginx to start automatically on boot:
sudo systemctl enable nginx
sudo systemctl start nginx
To check if Nginx is installed and running properly, run:
sudo systemctl status nginx
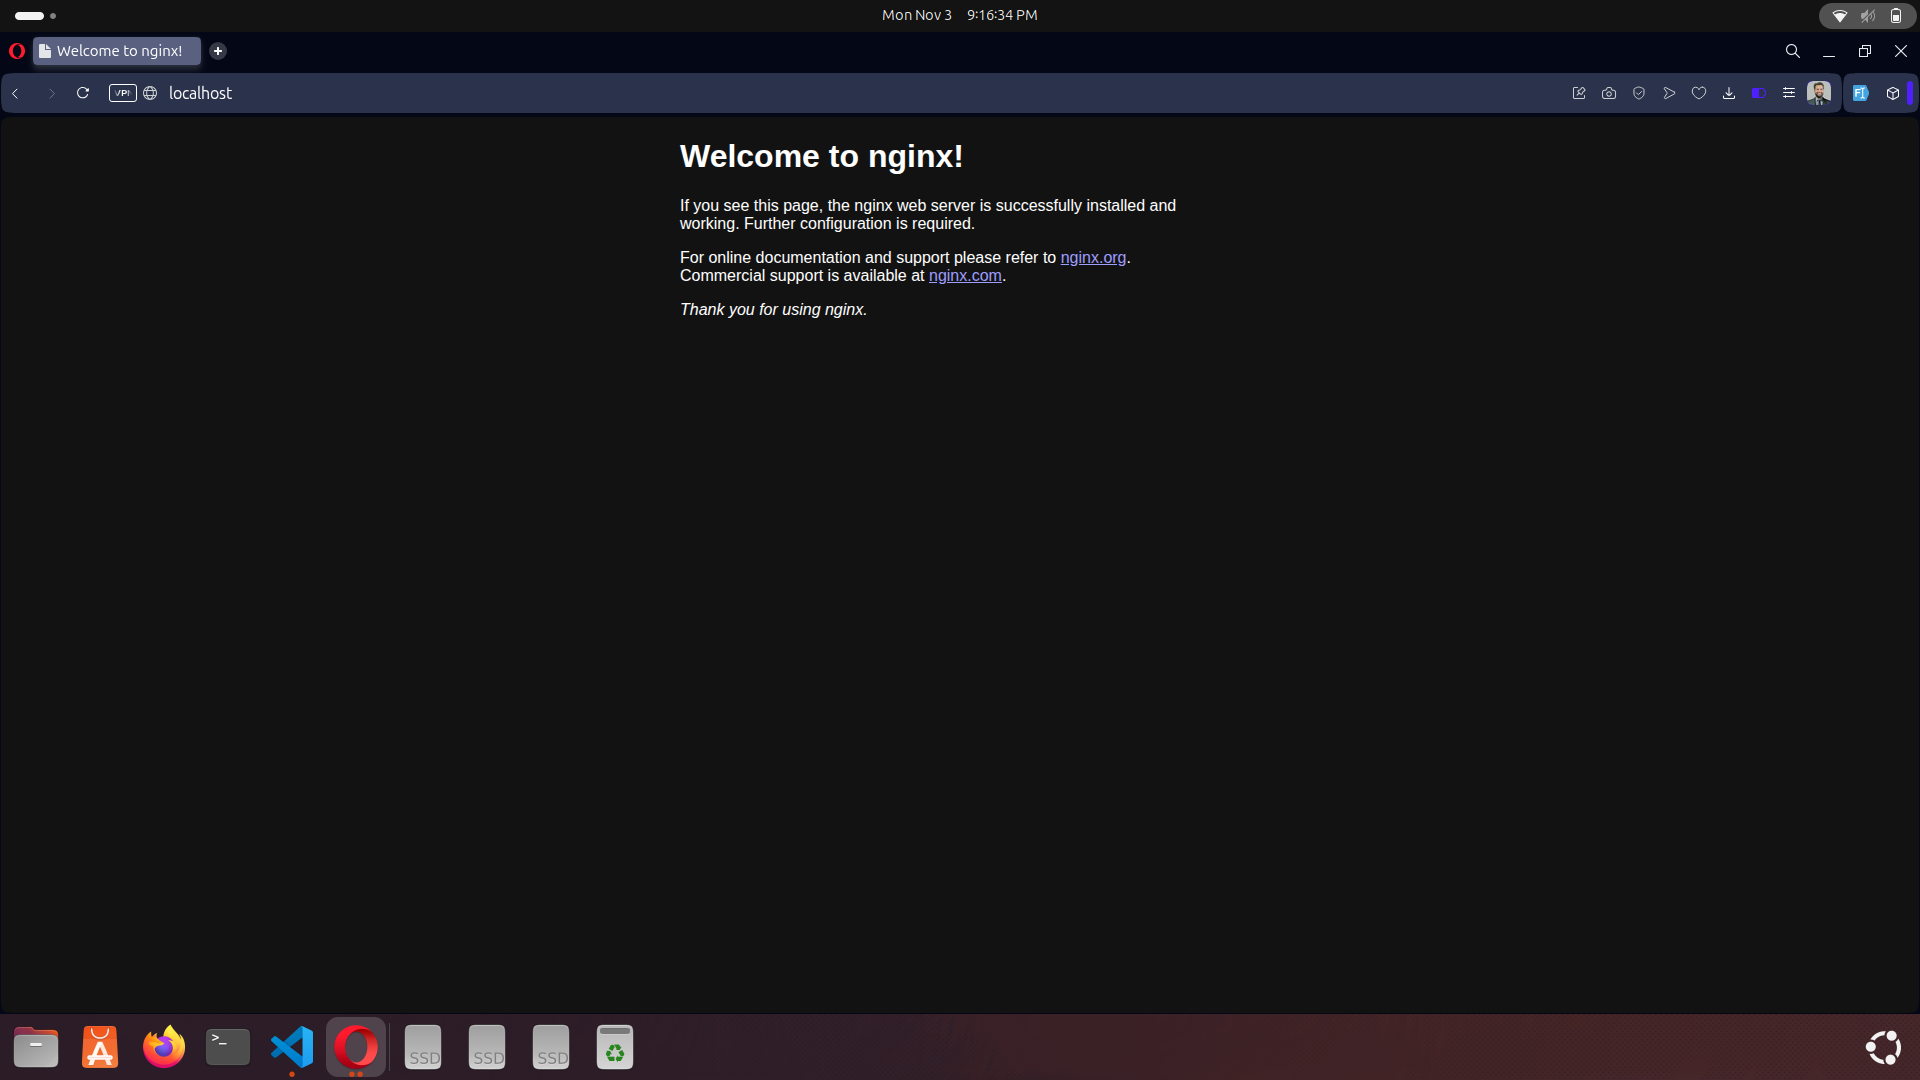
or open your browser and visit:
http://localhost
You should see the “Welcome to Nginx!” page — this means Nginx is successfully installed and running.
With Nginx successfully installed, the critical next step is to set up PHP. This powerful server-side language is the backbone required to efficiently run your Laravel application.
We will install the latest stable version, PHP 8.3, ensuring you get the best performance, security, and compatibility. Crucially, we'll include all necessary PHP extensions to guarantee your Laravel project functions flawlessly right out of the box.
First, add the official PHP repository maintained by Ondřej Surý, which provides the latest PHP packages:
sudo add-apt-repository ppa:ondrej/php -y
sudo apt update
Next, install PHP 8.3 along with the commonly required extensions for Laravel:
sudo apt install php8.3 php8.3-fpm php8.3-cli php8.3-common php8.3-mysql php8.3-xml php8.3-mbstring php8.3-curl php8.3-zip php8.3-bcmath php8.3-gd unzip -y
After installation, check if PHP is installed correctly by running:
php -v
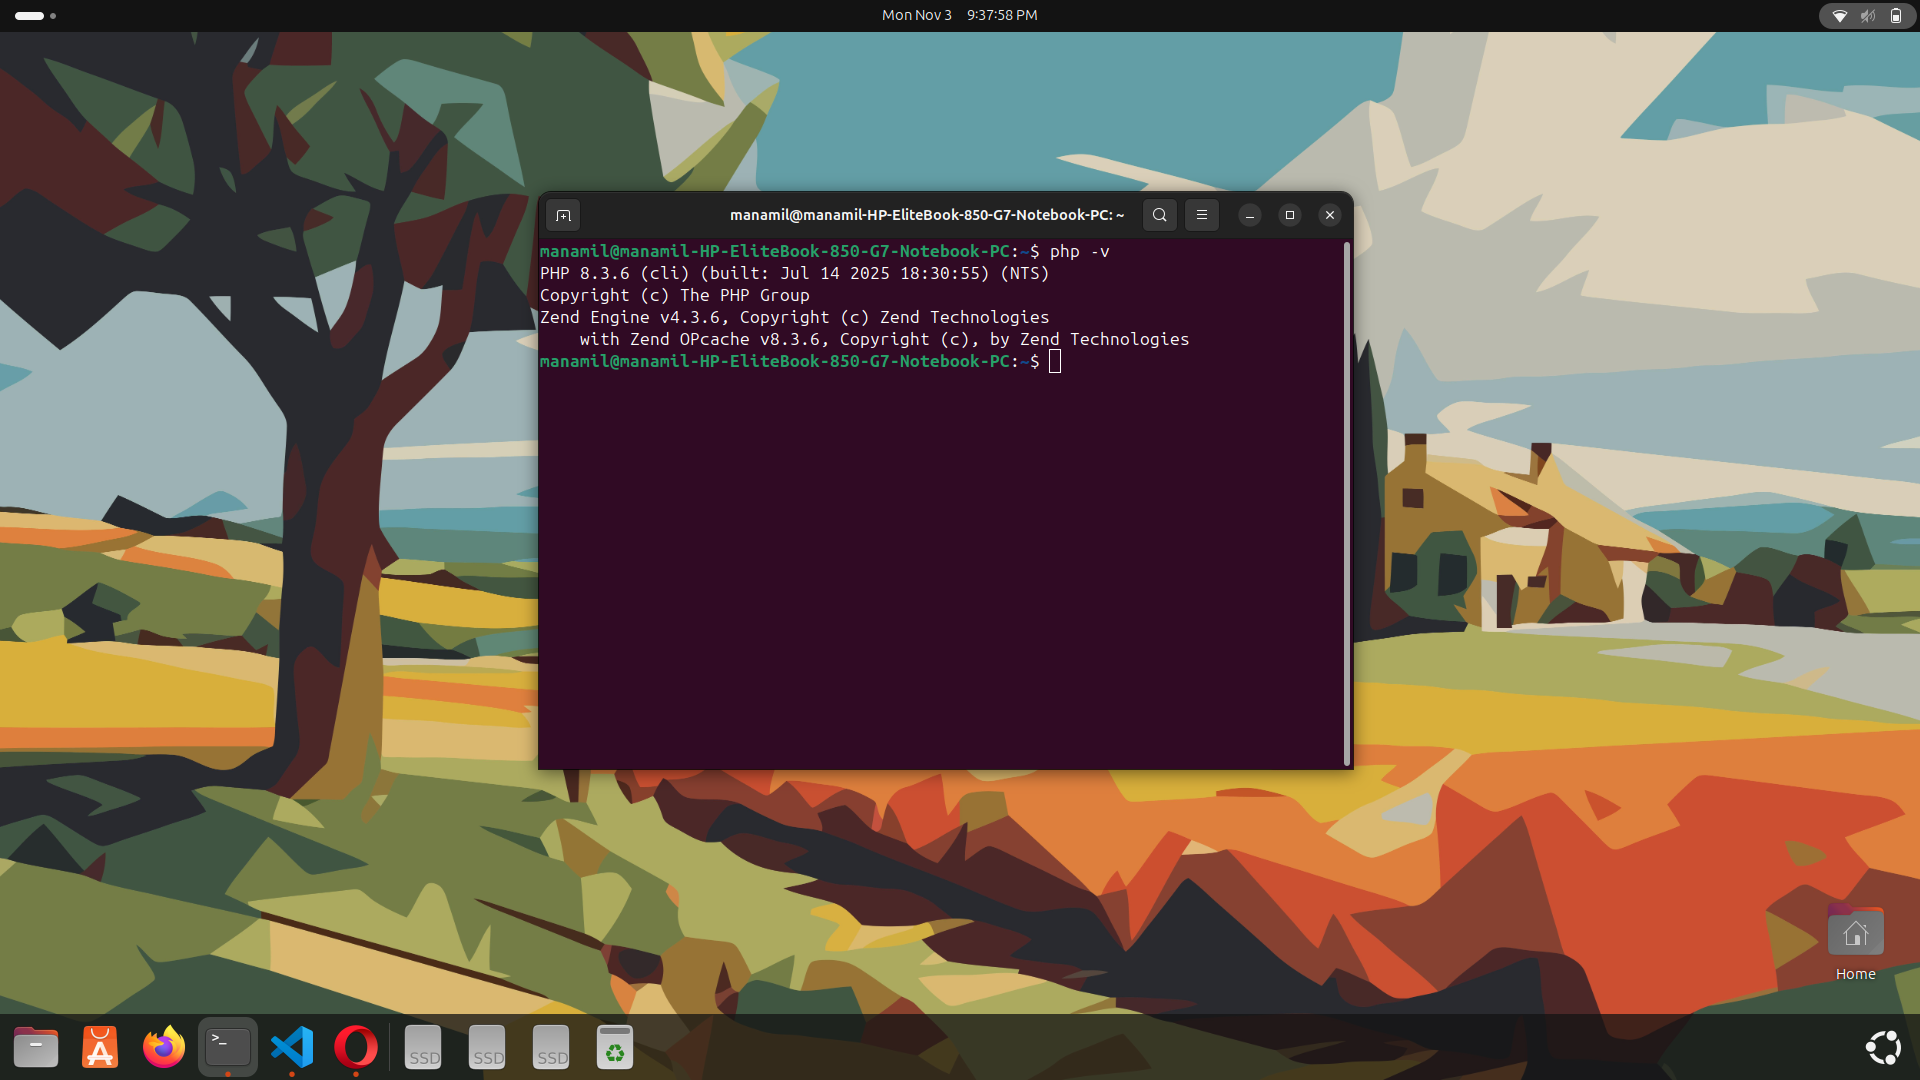
You should see something like:
PHP 8.3.6 (cli) (built: Jul 14 2025 18:30:55) (NTS)
Copyright (c) The PHP Group
Zend Engine v4.3.6, Copyright (c) Zend Technologies
with Zend OPcache v8.3.6, Copyright (c), by Zend Technologies
Since Nginx uses PHP-FPM to process PHP files, make sure it’s enabled and running:
sudo systemctl enable php8.3-fpm
sudo systemctl start php8.3-fpm
Composer is a powerful dependency manager for PHP. It’s used to install and manage all Laravel packages and libraries efficiently.
Without Composer, you can’t create or run a Laravel project — so let’s install it now.
Run the following command to download the Composer installer:
php -r "copy('https://getcomposer.org/installer', 'composer-setup.php');"
To ensure the installer file is safe, you can verify its integrity with:
HASH="$(wget -q -O - https://composer.github.io/installer.sig)"
php -r "if (hash_file('SHA384', 'composer-setup.php') === '$HASH') { echo 'Installer verified'; } else { echo 'Installer corrupt'; unlink('composer-setup.php'); } echo PHP_EOL;"
Now run the command below to install Composer system-wide:
sudo php composer-setup.php --install-dir=/usr/local/bin --filename=composer
Once installed, check if Composer is working:
composer -V
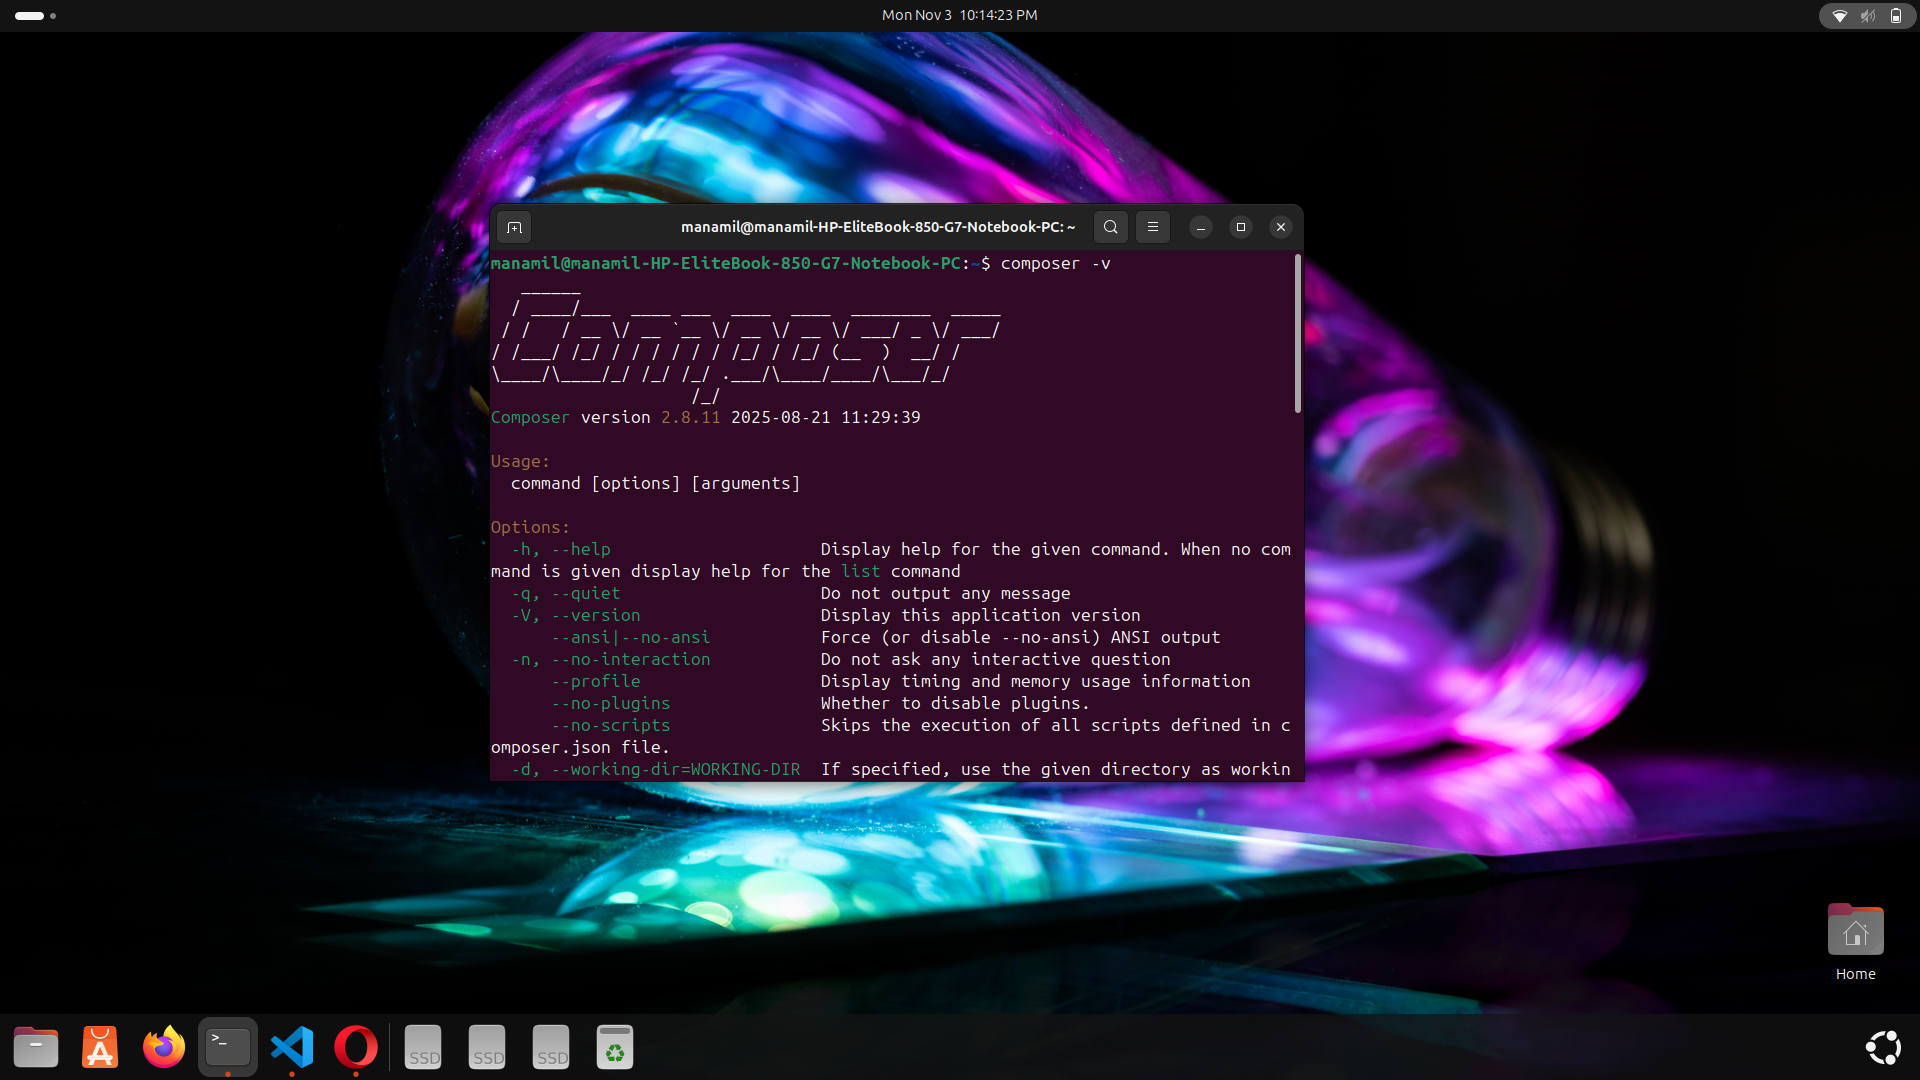
You should see something like:
______
/ ____/___ ____ ___ ____ ____ ________ _____
/ / / __ \/ __ `__ \/ __ \/ __ \/ ___/ _ \/ ___/
/ /___/ /_/ / / / / / / /_/ / /_/ (__ ) __/ /
\____/\____/_/ /_/ /_/ .___/\____/____/\___/_/
/_/
Composer version 2.8.11 2025-08-21 11:29:39
Now that Nginx, PHP, and Composer are ready, let’s install Laravel and configure Nginx to run it locally on your system (e.g. http://localhost).
Run the following command to create a new Laravel project inside the web directory:
cd /var/www/
sudo composer create-project --prefer-dist laravel/laravel myproject
After installation, move into the project folder:
cd myproject
Laravel needs write access for storage and bootstrap/cache folders.
Run the following commands:
sudo chown -R www-data:www-data /var/www/myproject
sudo chmod -R 775 /var/www/myproject/storage
sudo chmod -R 775 /var/www/myproject/bootstrap/cache
Now create a new Nginx configuration file for the Laravel project:
sudo nano /etc/nginx/sites-available/laravel
Paste this configuration (optimized for localhost):
server {
    listen 80;
    server_name localhost;
    root /var/www/myproject/public;
    index index.php index.html;
    location / {
        try_files $uri $uri/ /index.php?$query_string;
    }
    location ~ \.php$ {
        include snippets/fastcgi-php.conf;
        fastcgi_pass unix:/run/php/php8.3-fpm.sock;
    }
    location ~ /\.ht {
        deny all;
    }
}
Enable this configuration by creating a symlink and reloading Nginx:
sudo ln -s /etc/nginx/sites-available/laravel /etc/nginx/sites-enabled/
sudo nginx -t
sudo systemctl reload nginx
Now open your browser and visit:
http://localhost
If everything is configured properly, you’ll see the Laravel welcome page 🎉
Featured Posts
Categories
January 19 2026
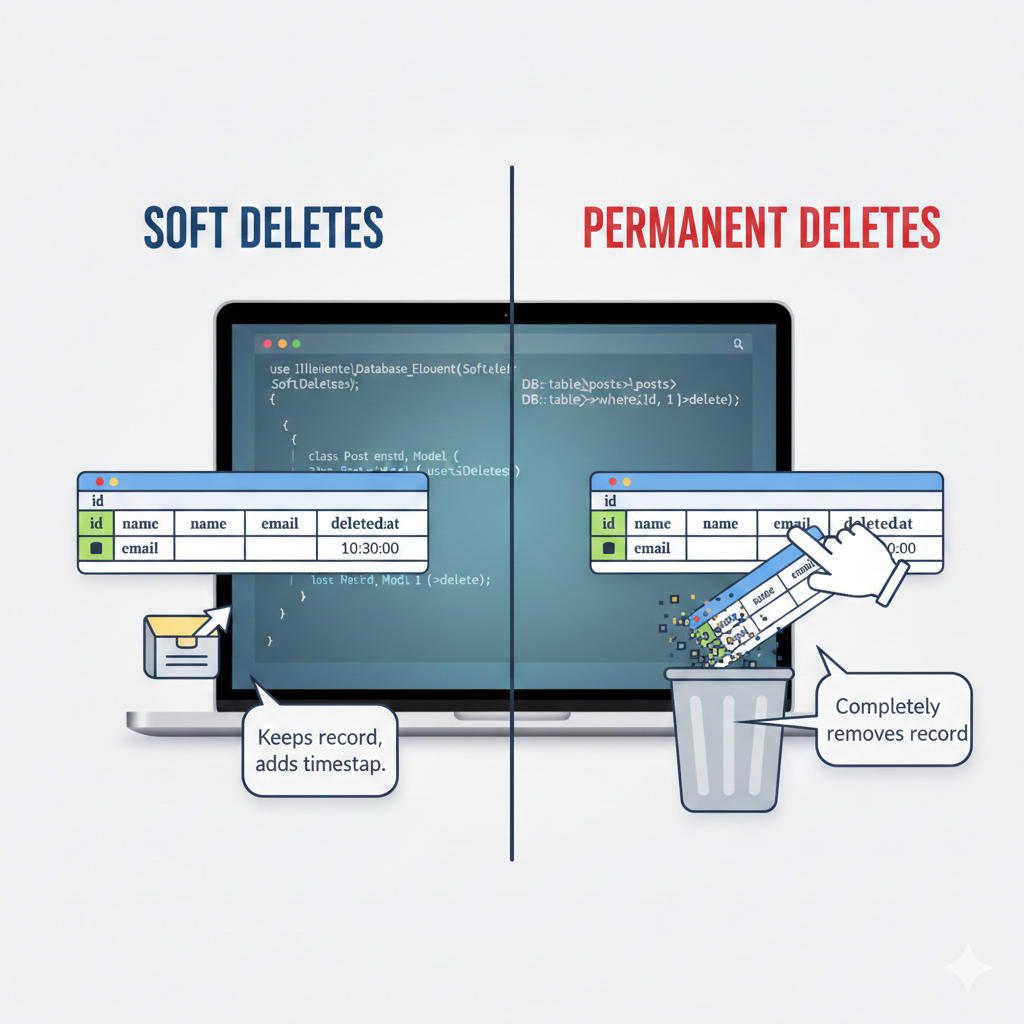
Soft Deletes vs Permanent Deletes in Laravel | Complete Guide with ExamplesIn Laravel, deleting data can be done in two ways: soft deletes and permanent deletes. Soft deletes mark a record as deleted without removing it, allowing recovery and auditing, while permanent deletes completely remove data from the database. Understanding the difference is essential for proper data management and maintaining clean, reliable applications.
January 19 2026
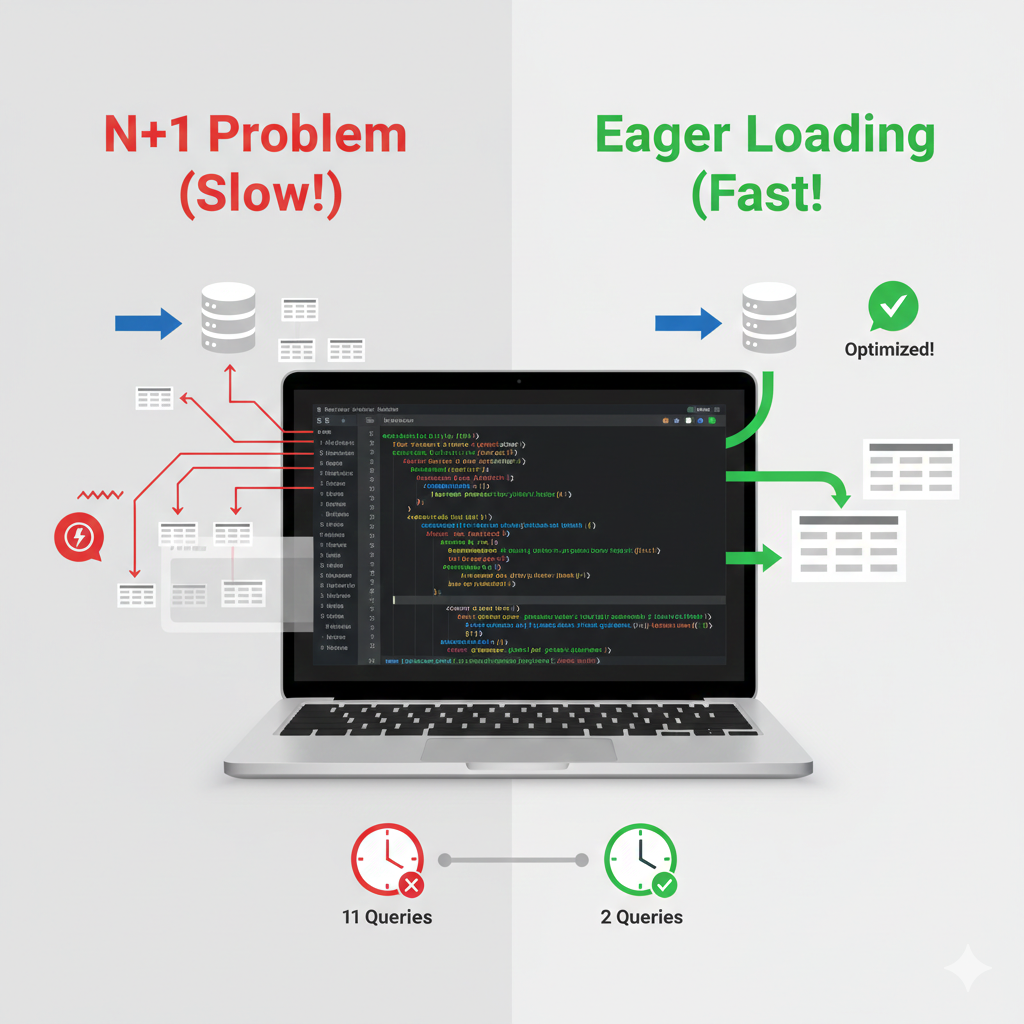
Unmasking the N+1 Query Problem in Laravel: Your Guide to Faster AppsStop the N+1 query problem from killing your Laravel app's performance! 🚀 Learn exactly what causes this common database bottleneck and how to fix it in seconds using Eloquent Eager Loading (with()). Perfect for beginners looking to write professional, lightning-fast code.
December 01 2025
DNS Checker Tool - Verify Your DNS Records and IP AddressIf you're managing a website, ensuring that your DNS records are correctly configured is crucial for maintaining its performance and availability. With our DNS Checker Tool, you can easily verify your DNS records and check your IP address to troubleshoot any issues that may arise.

Where ideas meet innovation. Exploring tech, design, and creativity in every line of code.
© 2026 — Revision. All Rights Reserved.