Muhammad Manamil on November 06, 2025


In today's digital landscape, securing your website with HTTPS is no longer optional—it's a critical standard. An SSL certificate encrypts data between your server and your users, protects sensitive information, boosts your SEO ranking, and builds trust with visitors.
Fortunately, you don't need to spend a fortune. Let's Encrypt provides free, automated, and open SSL certificates. The easiest way to use it on Ubuntu is with Certbot.
This step-by-step 2026 guide will walk you through installing a free SSL certificate on your Ubuntu server using Certbot, for both Nginx and Apache web servers.
Before getting started, make sure you have:
A running Ubuntu server (22.04 or later recommended).
A domain name (e.g., example.com) pointing to your server’s IP address.
Nginx or Apache web server installed and running.
Root or sudo access to your server.
Start by updating your package list to ensure you’re using the latest versions:
sudo apt update && sudo apt upgrade -y
Certbot is the official client from Let’s Encrypt used to obtain and manage SSL certificates.
sudo apt install certbot python3-certbot-nginx -y
sudo apt install certbot python3-certbot-apache -y
Now you’ll issue a free SSL certificate for your domain.
sudo certbot --nginx -d yourdomain.com -d www.yourdomain.com
sudo certbot --apache -d yourdomain.com -d www.yourdomain.com
you need to write your domain name in place of yourdoman
Certbot will automatically:
Verify your domain via Let’s Encrypt
Configure your web server
Enable HTTPS
Install the SSL certificate
You’ll be asked for an email (for renewal alerts) and to agree to the Let’s Encrypt terms.
After success, you’ll see a message like:
Congratulations! Your certificate and chain have been saved at
/etc/letsencrypt/live/yourdomain.com/fullchain.pem
To verify that SSL is correctly installed, run:
sudo certbot certificates
This will display your certificate details, expiration date, and domain coverage.
Then visit your website in a browser:
https://yourdomain.com
You should see a secure padlock 🔒 icon, meaning HTTPS is active.
You can also test it using SSL Labs Test.
Let’s Encrypt certificates expire every 90 days, but you can auto-renew them easily.
Enable automatic renewal using this command:
sudo systemctl enable certbot.timer
To test renewal manually:
sudo certbot renew --dry-run
If you see “Congratulations, all renewals succeeded!”, you’re all set — your SSL will auto-renew every 60 days.
Certbot is a free tool from the Electronic Frontier Foundation (EFF) used to install and manage SSL certificates from Let’s Encrypt.
Yes — 100% free, trusted by all major browsers.
Each certificate is valid for 90 days, but Certbot can auto-renew it automatically.
Absolutely! Laravel, PHP, or Node.js — any app running on your Ubuntu web server can use this SSL setup.
You’ll get an email alert from Let’s Encrypt. You can also manually renew using:
sudo certbot renew
Yes! Just add multiple -d flags, like:
sudo certbot --nginx -d example.com -d api.example.com
Yes, but Ubuntu 22.04 LTS or later is highly recommended for better stability and security.
Featured Posts
Categories
December 01 2025
DNS Checker Tool - Verify Your DNS Records and IP AddressIf you're managing a website, ensuring that your DNS records are correctly configured is crucial for maintaining its performance and availability. With our DNS Checker Tool, you can easily verify your DNS records and check your IP address to troubleshoot any issues that may arise.
January 19 2026
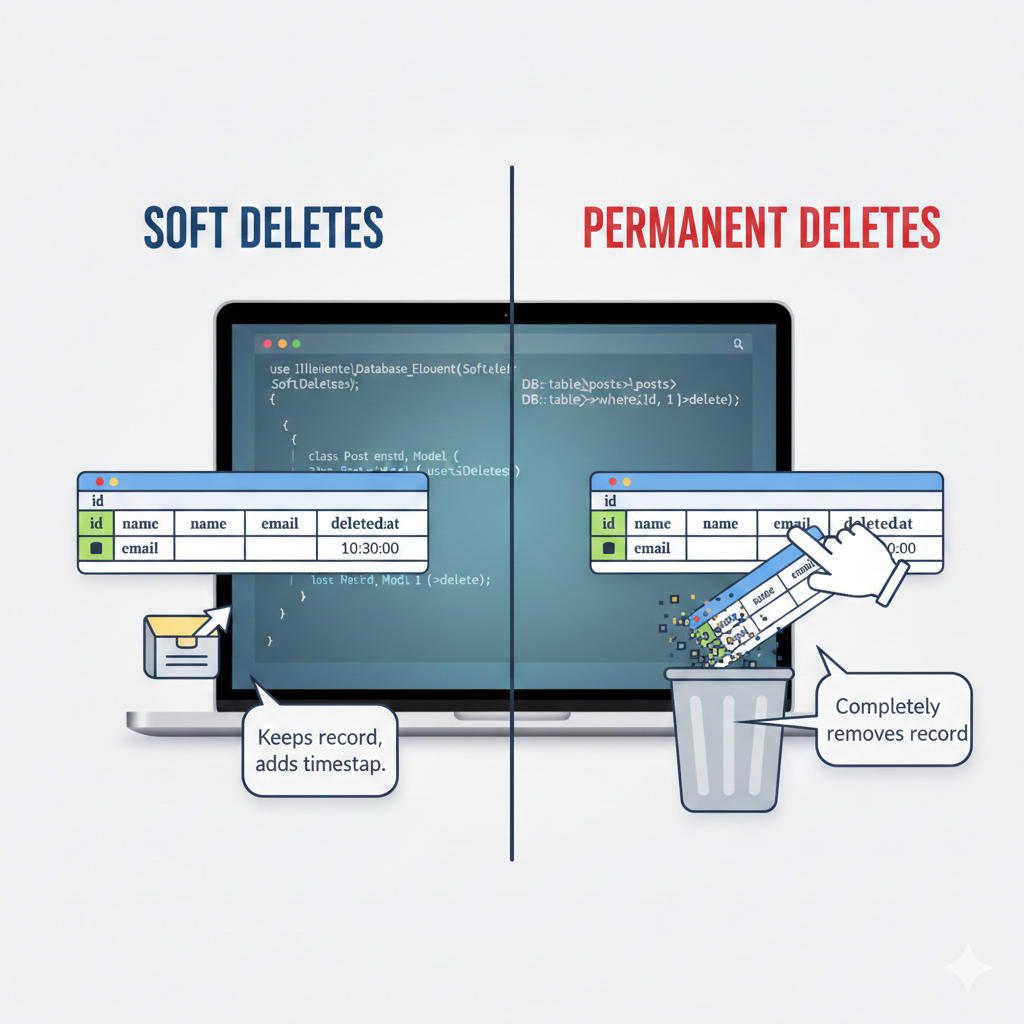
Soft Deletes vs Permanent Deletes in Laravel | Complete Guide with ExamplesIn Laravel, deleting data can be done in two ways: soft deletes and permanent deletes. Soft deletes mark a record as deleted without removing it, allowing recovery and auditing, while permanent deletes completely remove data from the database. Understanding the difference is essential for proper data management and maintaining clean, reliable applications.

Where ideas meet innovation. Exploring tech, design, and creativity in every line of code.
© 2026 — Revision. All Rights Reserved.